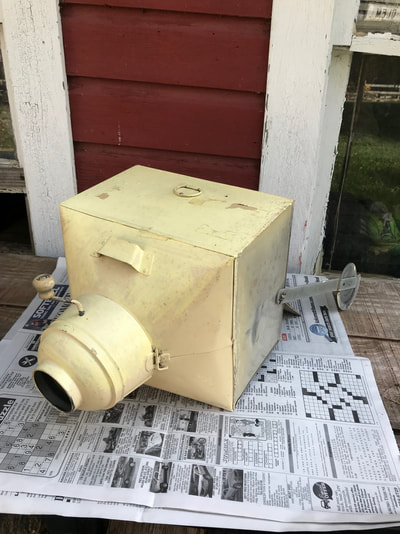
Dad would sit down at his desk in the basement to grade math assignments, pay bills, or write notes. I love this cabinet because for such a long time it was an integral part to my Dad's day. After we grew up and moved out of the house my Dad upgraded his desk and moved up to the bedroom that was mine when I was in college. The Hoosier Cabinet was moved into storage and was not seen until I asked about it a couple of years ago. Dad brought the cabinet out on their last trip to us in the spring, I started removing the lovely yellow paint at that time and finally finished over my Fall Break.
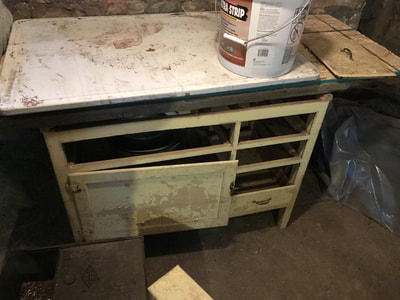
Before.
|
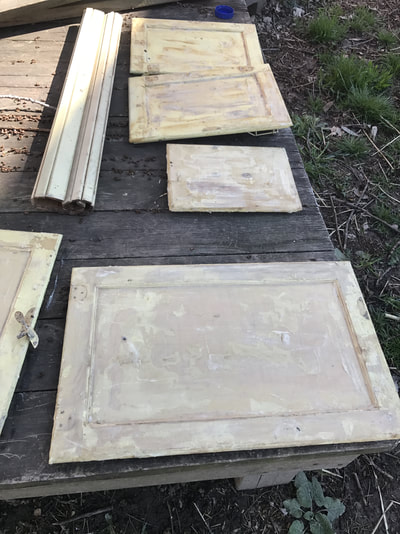
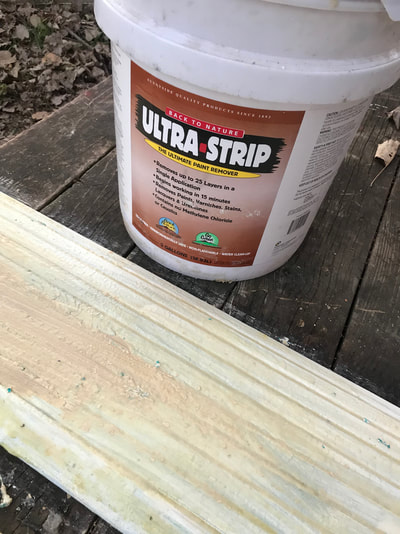
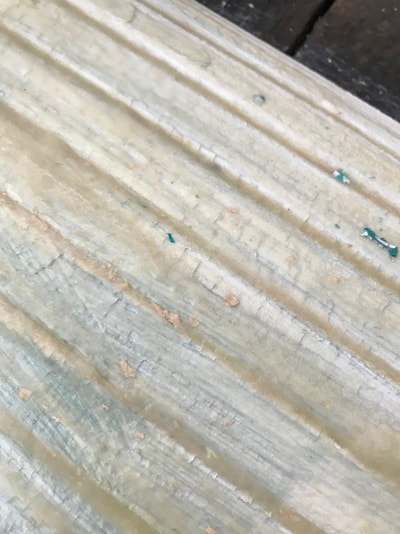
Along with the cabinet came my Dad's advice on how to remove the paint and a large container of this amazing paint remover. This stuff is amazing and for a paint remover is environmentally safe, which is not the usual for this type of product. The product I linked on the side is the not exact one that I used (the one I used was a stronger version and more expenisive), but it is from the same company, and if you are interested in more information about their products you can find it here. I did most of the paint removal outside, but I also did some in the basement and the fumes did not bother me.
This post contains affiliate links, which means I receive a small percentage of the sale if you make a purchase using these links. |
|
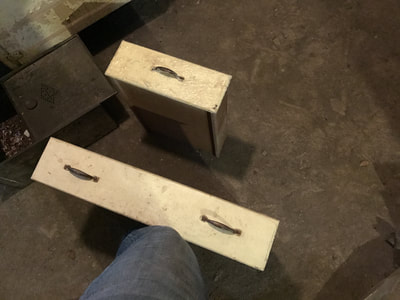
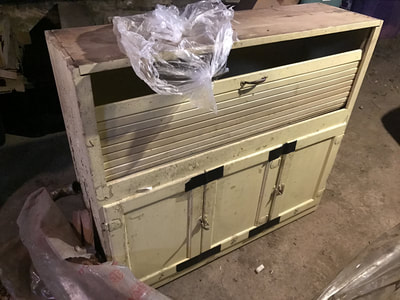
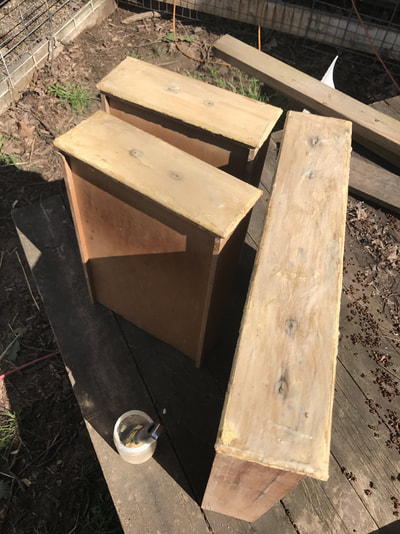
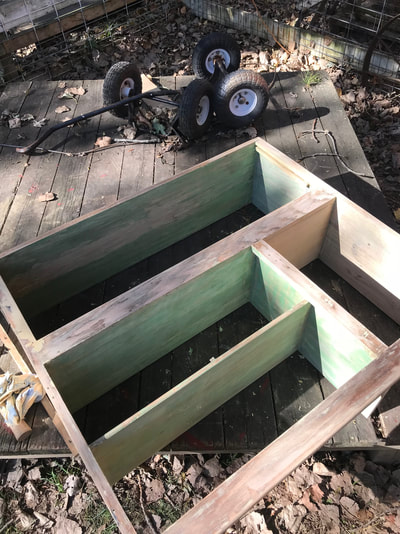
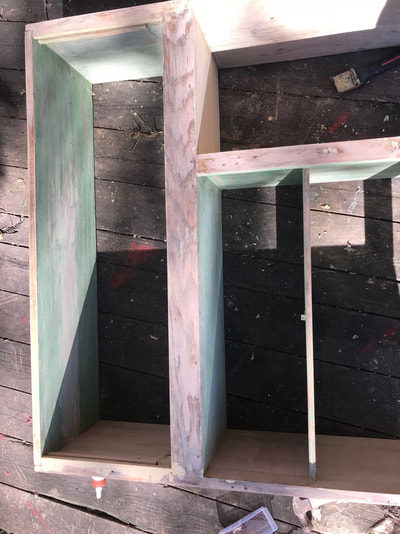
During.
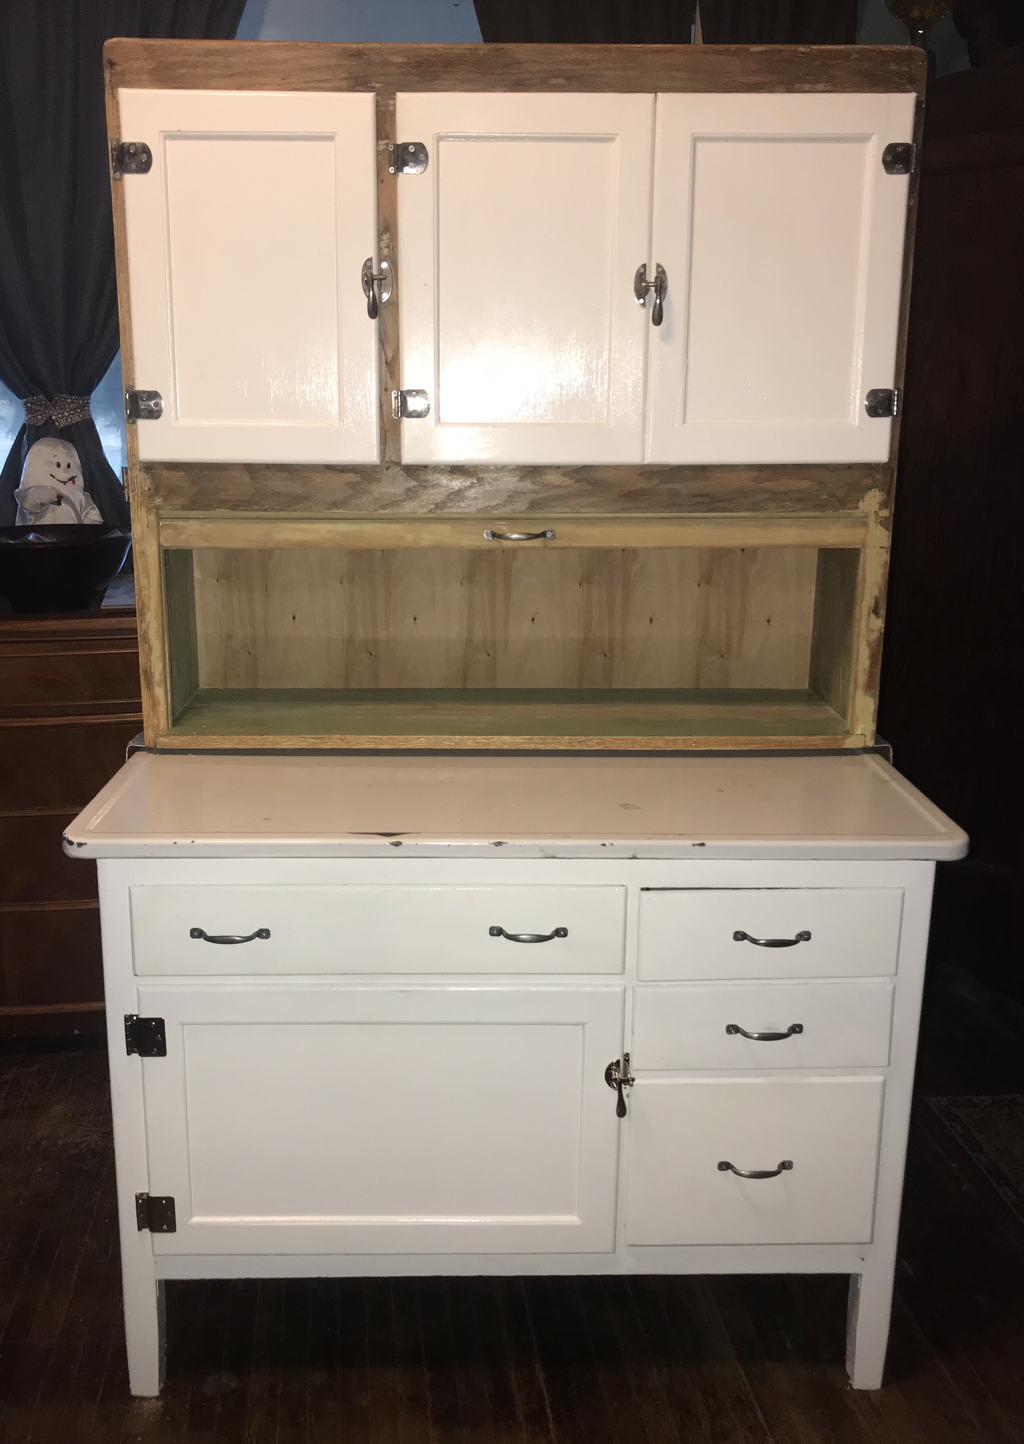
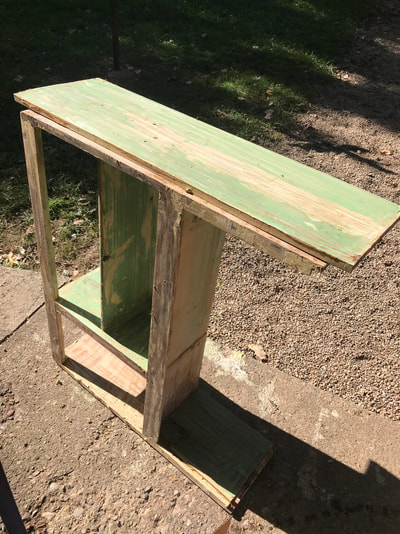
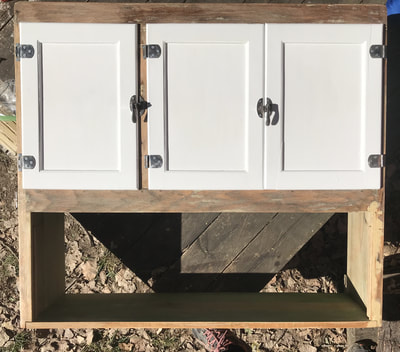
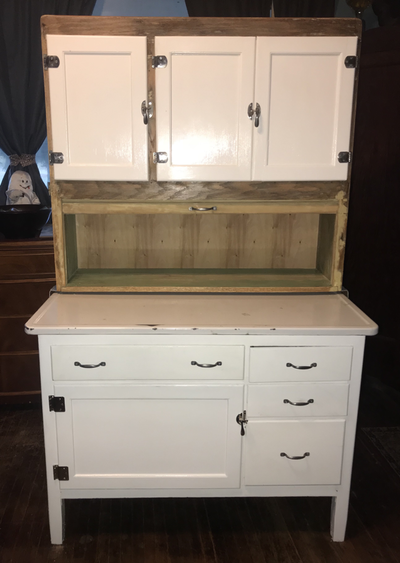
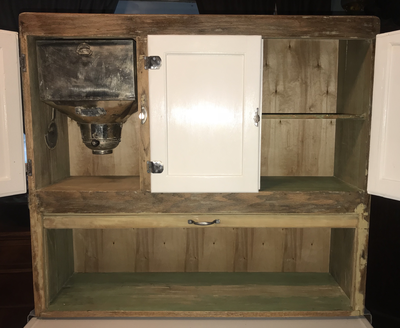
While I was working on the top of the cabinet, I noticed this nice green layer of paint (it was one of the first colors on the cabinet) and decided to leave some of the green and refinish with tung oil instead of stripping completely and staining. I like that there is a reminder of what the cabinet once was and I love the contrast with the white doors.
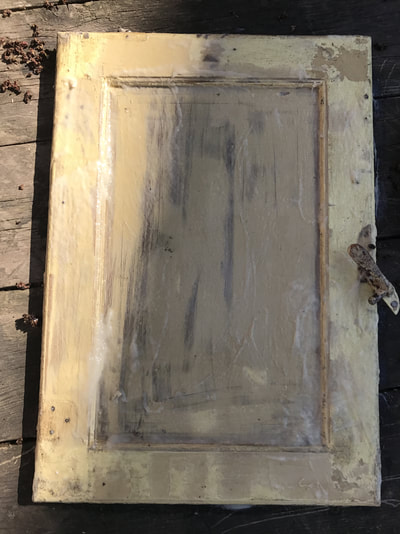
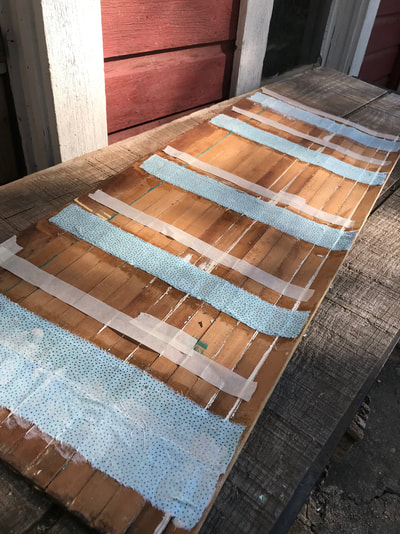
The tambour door was something I thought I was going to have to replace. I did not think that the existing paint would come off easily and I just figured I would have to bite the bullet and buy a new one. However, since these are a bit pricey I attempted to restore the existing one. Much to my surprise the paint came off easily leaving the door in great condition. I needed to fix the webbing on the back of the door and instead of ordering it I cut strips of fabric and adhered them to the back of the door with wood glue. With a painted layer of glue on the bottom, the fabric laid on top of the glue, and a final coat of glue on top of the fabric my solution worked incredibly well. Of course it would be best to order the actual twill tape and glue that is specific for this type of repair, but I am impatient and cheap.
|
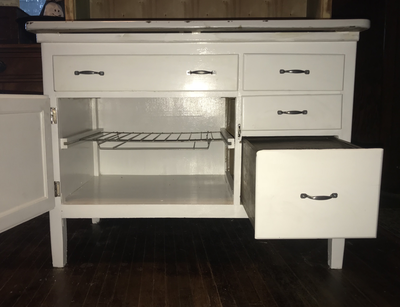
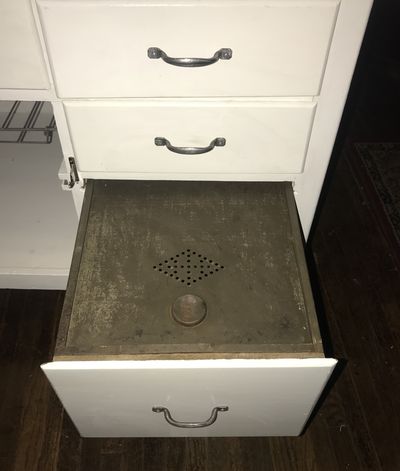
I was able to use all of the original hardware (except that one hinge and one latch were lost so I found replacements) and after removing the yellow paint was able to buff them to a nice shine. The replacements that I purchased took a bit of research to find, but I found some hinges that are a close match here and a latch on Amazon.
|
|
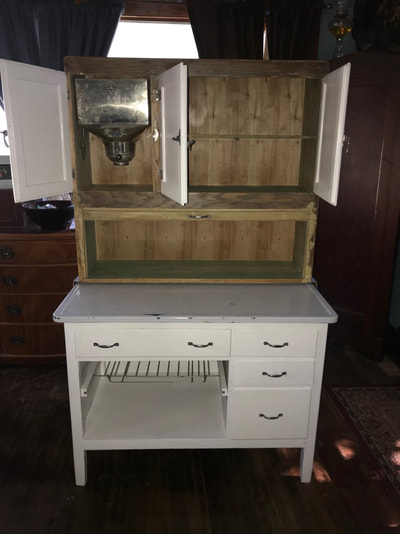
I am incredibly pleased with the outcome of this project, it turned out better than I imagined it would. I sent my Dad photos of the entire process and of course, the final project. Dad was impressed with the end result, but he does not understand why I kept that small block of yellow. However, that is not for him to understand, it is just a small way for me to always have my Dad close.
 RSS Feed