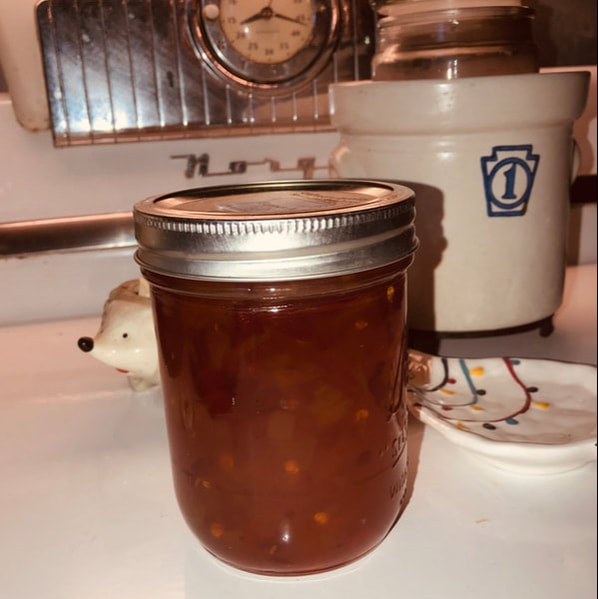
 | A friend of mine brought some pepper jelly to the house on her charcuterie platter, and I was hooked. I remember my mom always having pepper jelly in the fridge and thinking it was the grossest thing ever. Boy, was I wrong. This stuff is amazing. My friend was kind enough to share the recipe. I made the full sugar version, and since it was so good I decided to give a low sugar version a try. It worked, and it has since been approved by my husband. |
|
0 Comments
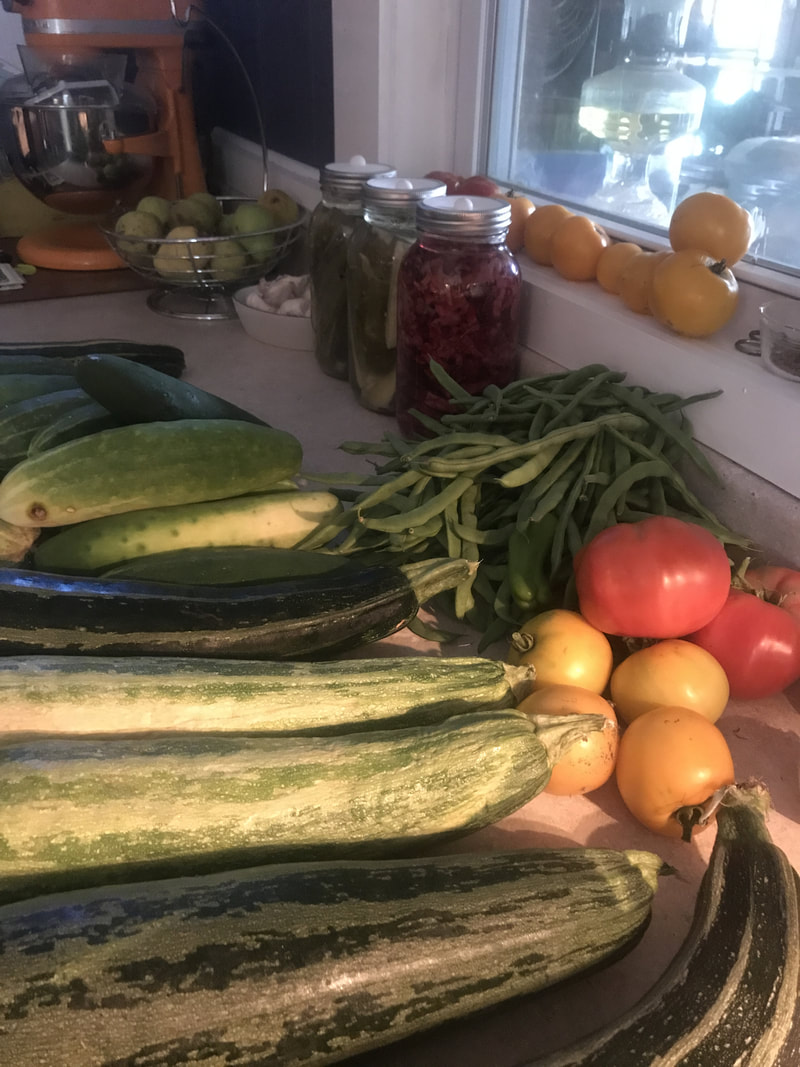
R.J. wanted to plant his own garden this year and the only plants he wanted in it were ones that grew on vines. Pumpkins, watermelons, cantaloupes, zucchini, and cucumbers made the list so we bought the seeds and then did what every good farmer does, we dumped the seeds randomly into the area we had cleared. It was quite organized and well thought out.
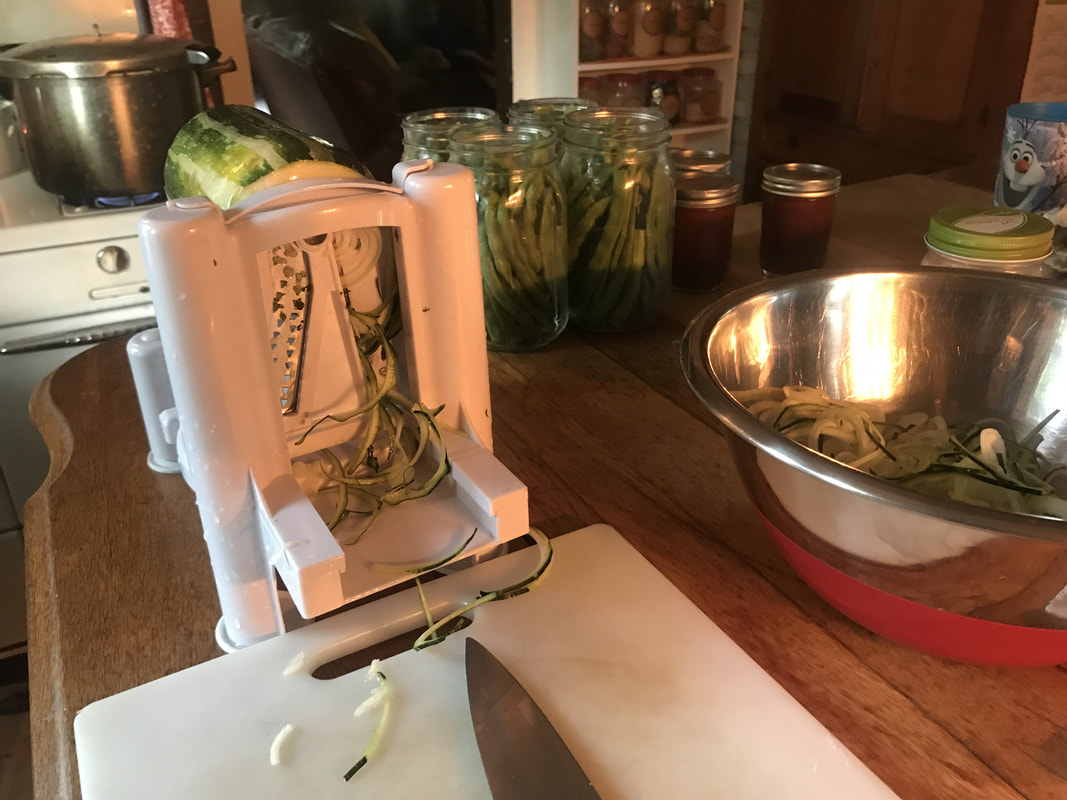
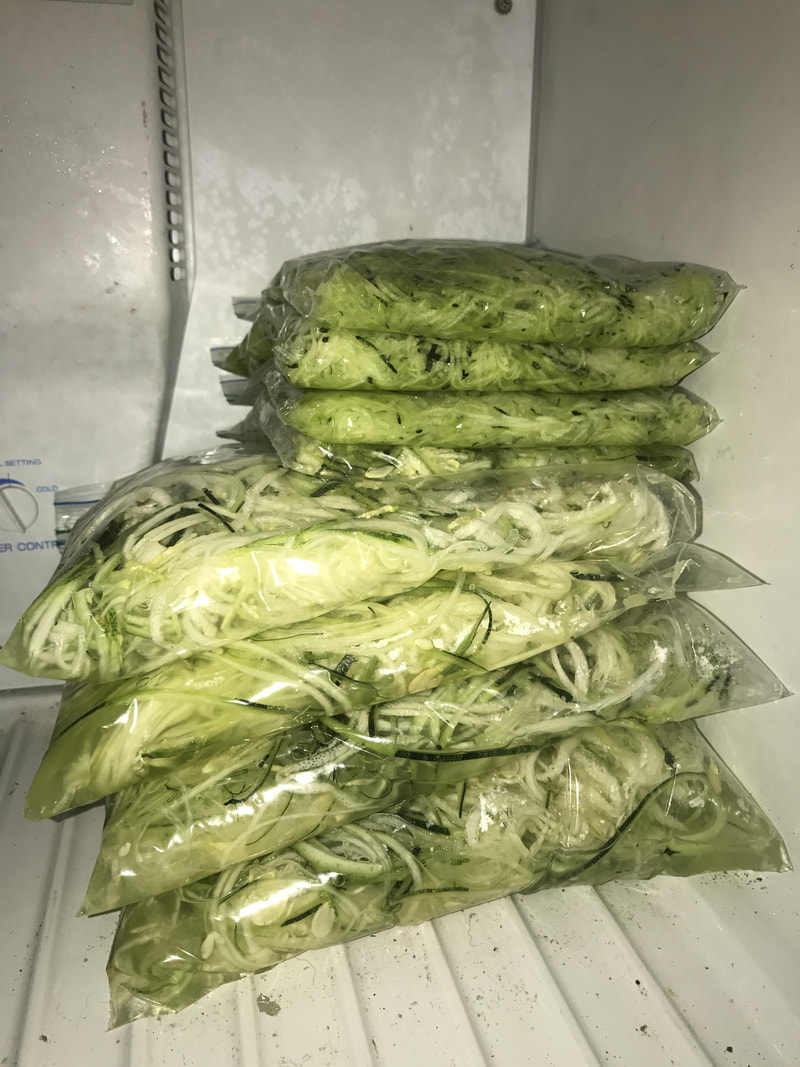
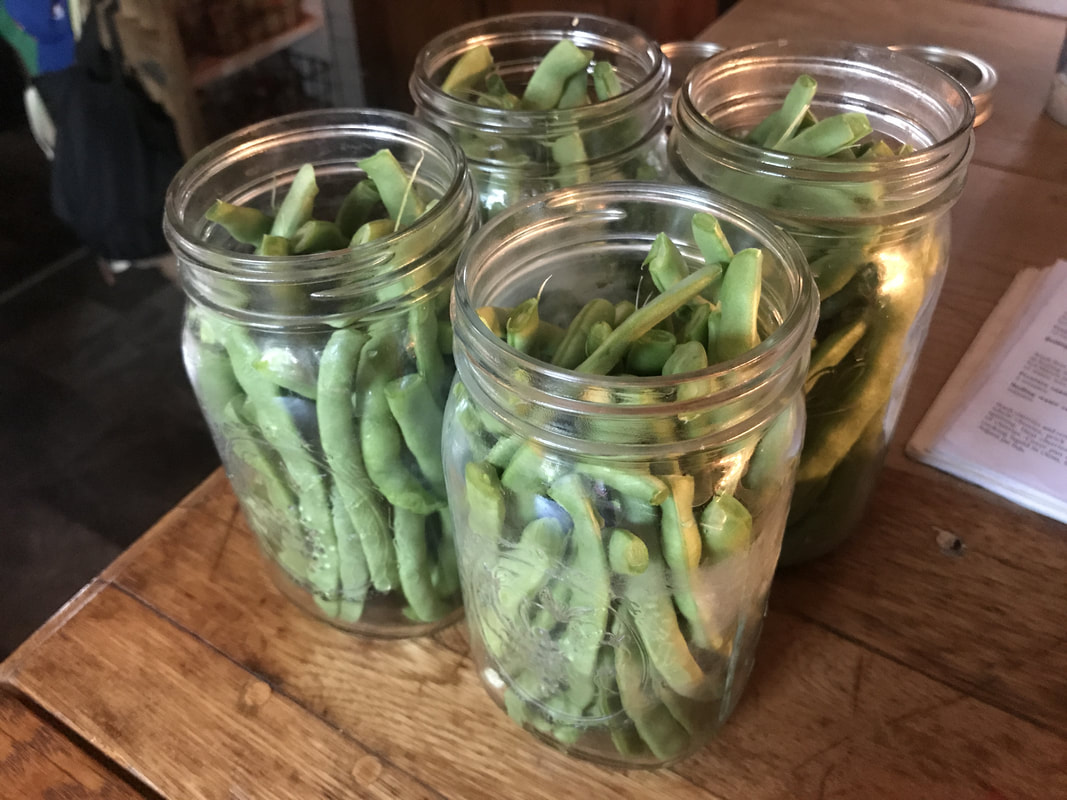
One day we had an area bare of any vegetation and the next it was a forest of vines. It was amazing how quickly the plants grew and then how much produce we were able to pick every few days. Zucchini and cucumber were the winners and we had so many of each that we could not eat them fast enough before they would spoil. What do you do with an excess of cucumbers? Why you make pickles of course, check out my post on fermenting pickles here. I also made some bread and butter pickles from a recipe I found on Pinterest, which you can find here. I am storing all of the pickles in the fridge so that it will help them to remain crisp. Now, about all of the zucchinis... R.J. loves Zoodles (noodles made from zucchini), Lily not so much, but I had a Zoodle factory in my kitchen one night and managed to freeze six bags of Zoodles for use later in the year. I know that zucchini does not thaw well, but I read that if you add water to the bag of Zoodles they will freeze better and not end up as mush once they thaw. I will let you know how they turn out when I thaw them, my fingers are crossed as are R.J.'s, but Lily is hoping that they all end up in the trash bin. Making Zoodles is a fairly easy process, but doing it in mass quantity takes some time and is a bit tedious. I took up the entire kitchen table with my Zoodle set up and managed to not make too much of a mess. From there I portioned them off into gallon sized freezer bags, added enough water that the Zoodles were covered, and then stacked them neatly in the freezer. If you are interested in making your own Zoodles there is a link below for the Spiralizer I use and I cannot complain. It is easy to clean and stores neatly. I also canned more of our green beans, they are one of the easiest vegetables to can and are a good place to start if you have never canned before; you really cannot mess up green beans.
Our apple trees did not produce much for us this season so I was pretty excited when I found thirty pounds of apples for $5 at our local IGA. I figured I should do something with them that day so it was time to make apple butter. 1. Core apples (I leave the peals on) and place in large pot, add two cups of water. Cover and cook on low heat until apples are soft. 2. Transfer apples to blender and blend until smooth and then pour into your slow cooker, leave a little space for your other ingredients. Make sure when you are blending that you do not fill it up too much or you will burn your hand like I did. I filled the blender too close to the top and the hot apples spit out of the corner and gave me a nice little blister. 3. Once you have all of your apples blender and in the slow cooker add your sugar and spices. My slow cooker holds 6 quarts so adjust your measurements if necessary. - 1 cup Stevia - 1 cup coconut sugar (you can also use brown sugar) - 2 tablespoons cinnamon - 1 teaspoon nutmeg 4. Stir in your ingredients and set the slow cooker to high. Cook on high for an hour and then change to low. I let my apple butter cook all night on low. I stirred it first thing in the morning and let it cook a few more hours on low. The last hour I left the lid off so that the apple butter would thicken. At this point your apple butter should have a rich brown color. Cook it until you reach your preferred thickness. 5. Fill your canning jars and either pressure can them for eight minutes with five pounds of pressure or use a hot water bath for fifteen minutes. 6. Enjoy! 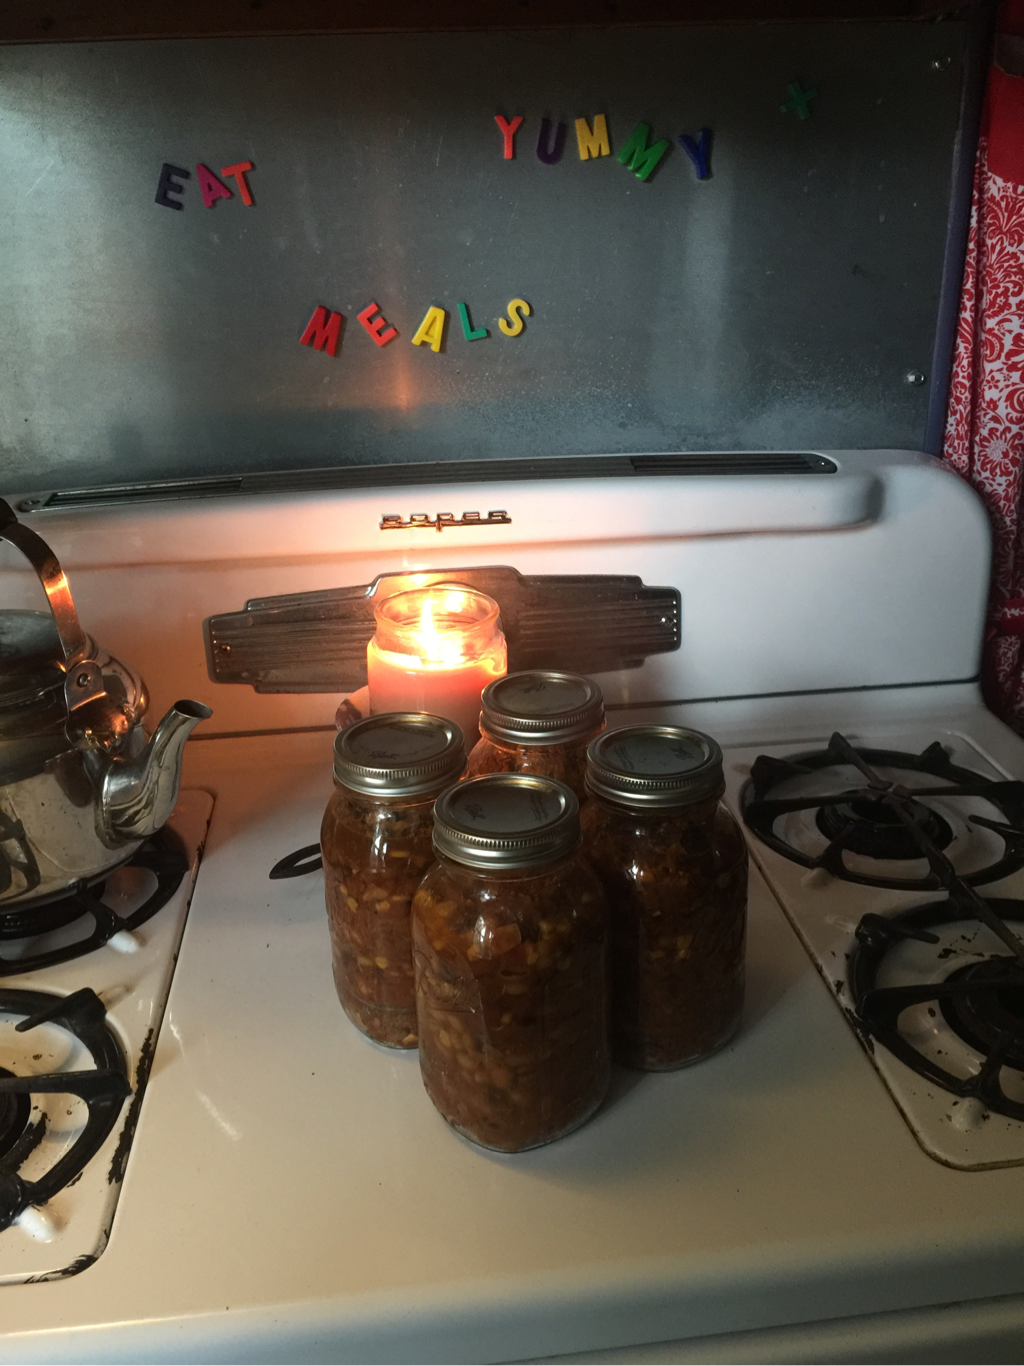 When Shannon fires up the smoker we have food for weeks. The trouble is that I need to make sure we eat it or store it before it goes bad. While we usually have sandwiches and pulled pork tacos, after a few days we have all had enough. This time I tried something different with the extra pulled pork and used it instead of ground beef in chili. I had frozen the pork and pulled it out the other day for my chili; I made it the same as I usually do just with pulled pork. It was really good. I had so much chili that not only did we have it for dinner two nights, but I was also able to can six quarts for use later. I think that when I pull it out to use I will add some extra crushed tomatoes and chili beans since it is pretty thick, but I look forward to this easy, healthy meal when it is cold outside. 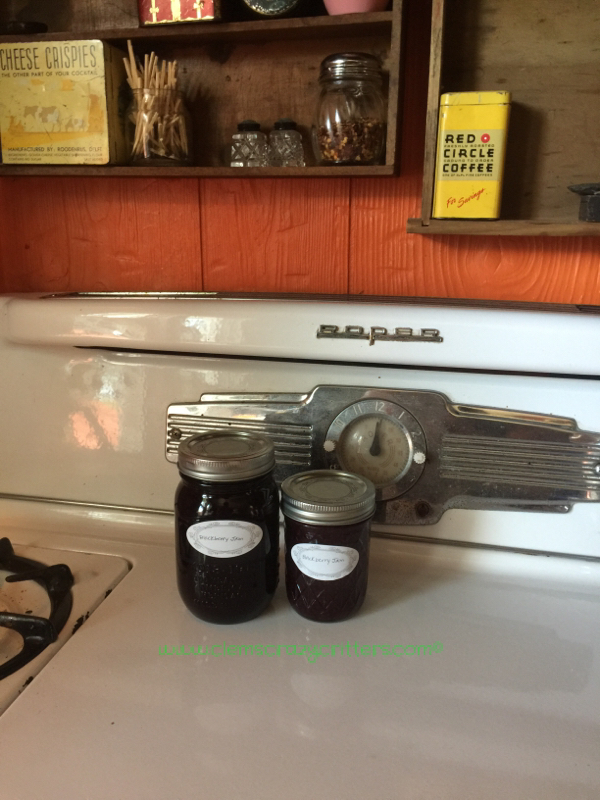 We have blackberries, lots of them. What do you do with all of this amazing goodness? Make blackberry jam, of course. Incredibly simple: 1. Wash the berries and pick out any foreign objects. 2. Place berries in saucepan and mash. 3. Cook the smashed berries over medium high heat until they start to bubble. Make sure you are stirring them while they cook and allow them to boil for about 5 minutes. 4. Turn off the heat and add your sugar, it is about 1 cup of sugar per 1 cup of berries. I used a bit less than this and my jam still turned out well. 5. Turn heat back on to medium high and allow to boil for another 5 minutes. If you want thicker jam now is when you add in pectin, let it boil for a minute or so after you have added the pectin. 6. Turn off the heat and whisk the berry mixture for about 5 minutes, this helps release the natural pectin in the berries. 7. Now you can can your jam using a pressure canner or the boiling water method. You can also put into jars and refrigerate if you plan on consuming it quickly. So easy and quite possibly the best jam I have ever made. 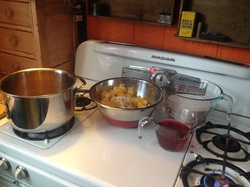 I made marmalade over the weekend and this stuff is really good. You will need: 1. 8 Oranges 2. 3 Lemons 3. 6 cups sugar 4. 7 Tbs. Low-sugar Pectin (you may need more or less) 5. 4 cups Cranberry Juice 6. 1/8 tsp. baking soda Directions: Prepare your jars and canner while you are making the marmalade. This way you are ready to go once it is done cooking. Fill your canner pot with a few inches of water and place the jars, lids, and rings in it. Allow the water to boil so that everything is hot and sterilized by the time you are done making the marmalade. 1. Place a soup spoon in the freezer, this will help you check the consistency of your marmalade. 2. Wash the fruit and place your pressure canner on the stove with water and your jars. Bring the water in the pressure canner to a boil so that you can have your jars sterilizing while you are making the marmalade. 3. Peel the outside of the oranges with a vegetable peeler then put in a blender until they are chopped up pretty fine. Place the peels in a saucepan with 2 cups of the cranberry juice and the baking soda over high heat until it comes to a rolling boil. Turn down the heat, cover, and allow to simmer for 20 minutes. 4. While this is simmering peel the oranges and lemons and remove any bits of white and seeds. Place the peeled fruit in the blender and set aside. 5. Combine the pectin with about 1/4 cup of the sugar and add to the chopped fruit. 6. Once the peels are done simmering for 20 minutes add the fruit and the remaining 2 cups of cranberry juice, maintain low heat and simmer for 10 minutes. 7. Add the remaining sugar to the saucepan and allow to come to a boil. While stirring, let it stay at a hard boil for about one minute. 8. At this point you can check to see if the consistency of your marmalade is to your liking. Take out the spoon from the freezer and dip into the marmalade so that you have just a bit on the spoon. Give it a few seconds to chill and if the marmalade is thick enough you may start the canning, if not, add some more pectin and bring mixture to a boil again. 9. Ladle your marmalade into jars, place lids on and tighten. 10. To process you can either use a hot water bath or a pressure canner. Since I have purchased a pressure canner I use it for just about everything since I do not need as much water in the pot. 11. For a hot water bath you will need to make sure that the water covers the jars by at least two inches and once the water comes to a boil start your timer for fifteen minutes. 12. For the pressure canner you will use ten pounds of pressure and process for ten minutes. 13. Carefully remove your jars and allow to cool. |